4.1 KiB
Getting Started
This page will go over the steps required to get started with the Pterodactyl cog.
/// admonition | Screenshots may be visually distinct
type: info
For the purpose of this guide, I'll be using Bloom Host's Pterodactyl fork.
The steps should be basically identical for other panels, but screenshots will look visually different.
If in doubt, contact your host's support.
///
Installing the cog
This project is a cog made for use with specifically instances of Red-DiscordBot.
See the Red documentation for information on how to run an instance of Red. Once you've got it running, come back here.
/// admonition | [p] is your bot's prefix
type: tip
///
Now, load the Downloader cog:
[p]load downloader
The Downloader cog allows you to add Git repositories to your bot in order to download cogs from them.
Now, use Downloader to add my repository to your bot:
[p]repo add sea-cogs https://www.coastalcommits.com/SeaswimmerTheFsh/SeaCogs
Now, install the Pterodactyl cog:
[p]cog install sea-cogs pterodactyl
[p]load pterodactyl
Creating a sub-user
This is optional, but highly recommended, for security reasons.
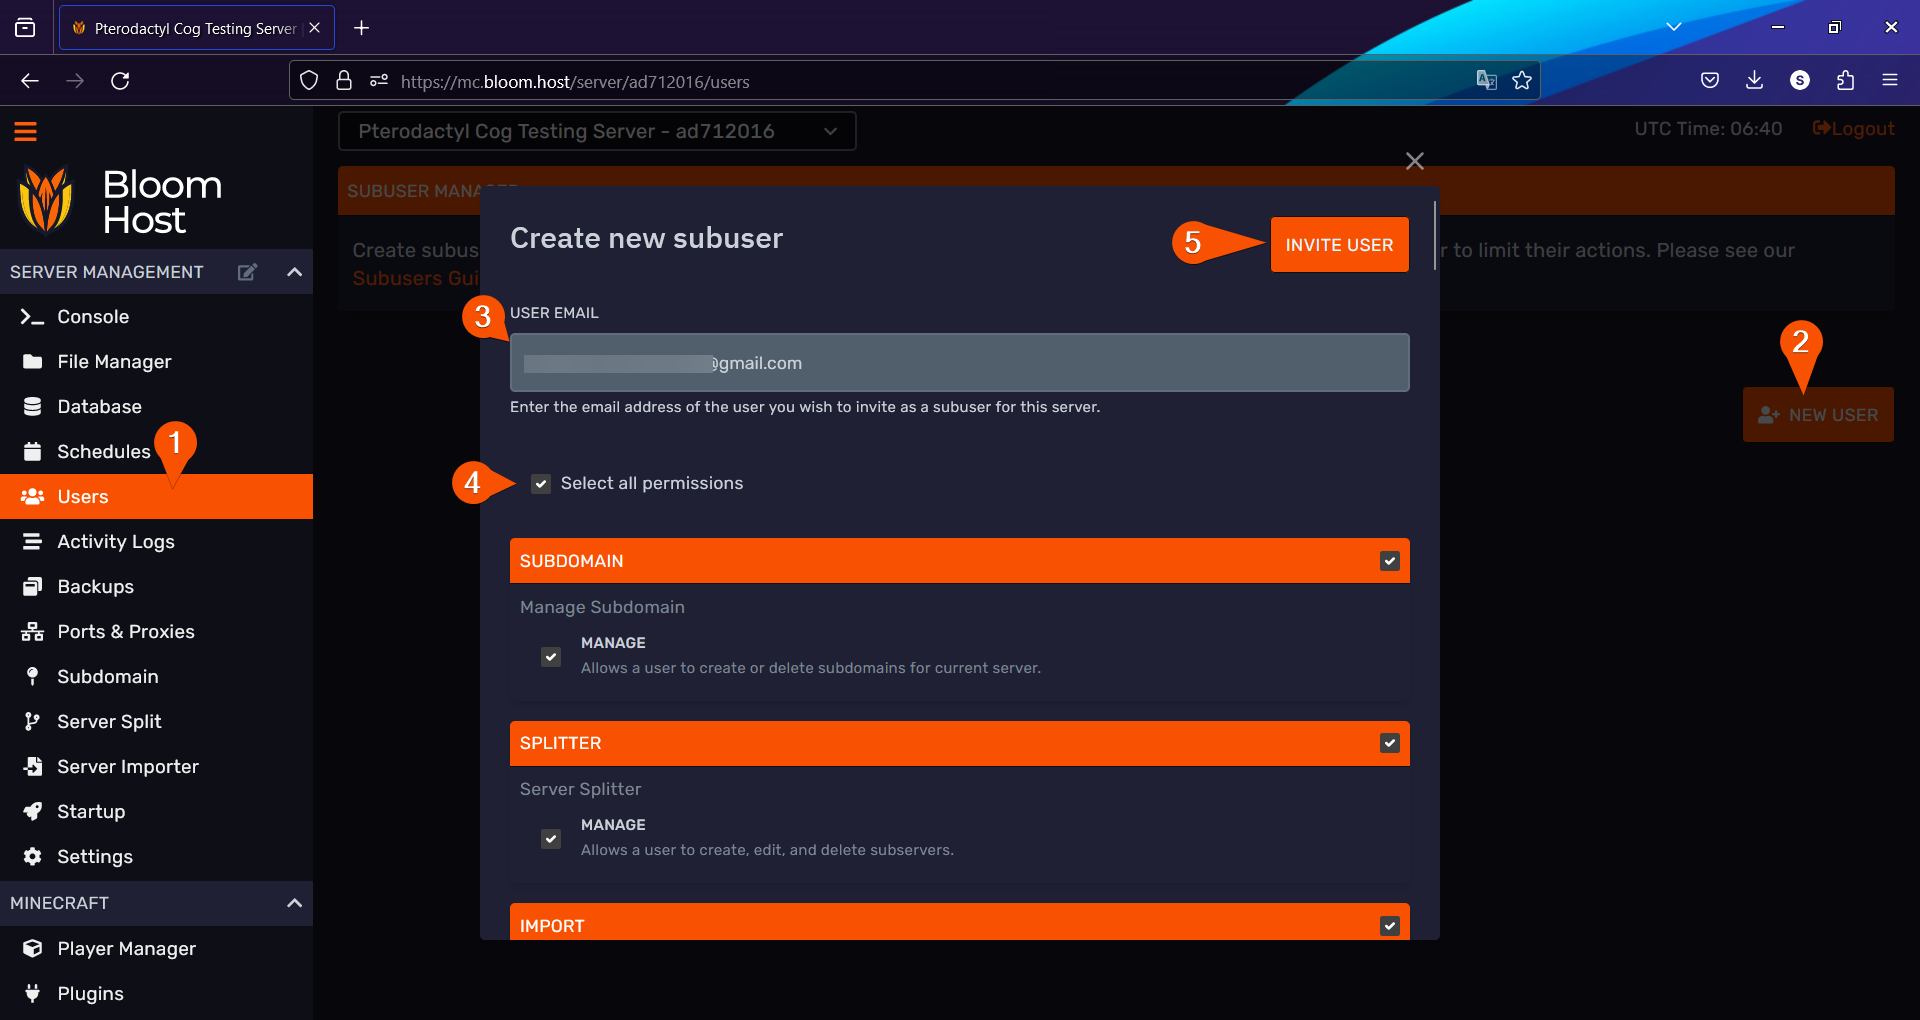
Navigate to your Users page, and click the New User button.
Type in an email address, and press Select all permissions.
The bot doesn't need all of the permissions you just gave it to function, we'll deal with that in a moment.
Now, you'll need to check the email you just entered into the subusers page, and create an account. I won't cover this, as it'll change depending on what host you're using.
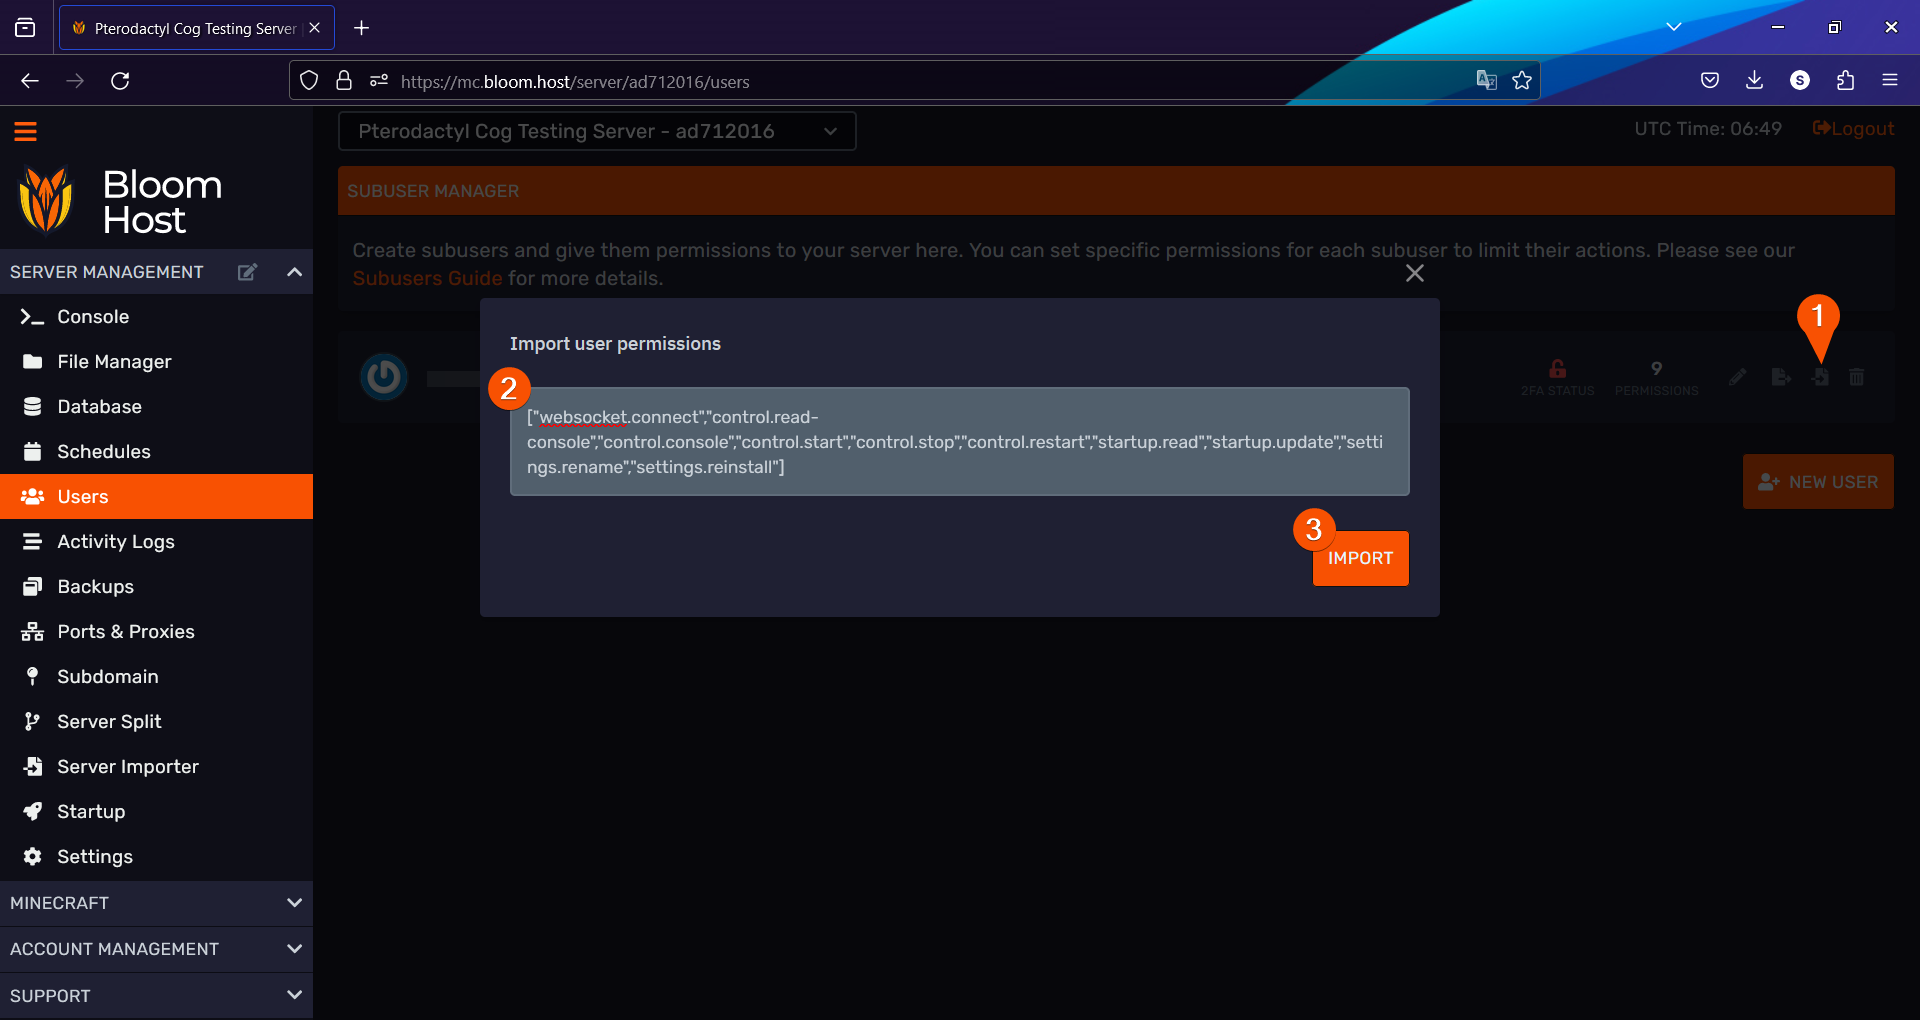
Moving on, the bot doesn't need all of the permissions you just gave it. This poses a security risk, should the bot be compromised. We can fix this by importing only the permissions the bot requires. Import the following string into your subuser's permissions.
["websocket.connect","control.read-console","control.console","control.start","control.stop","control.restart","startup.read","startup.update","settings.rename","settings.reinstall"]
Getting an API Key
Log out of your primary account, and switch to the sub-user you just created.
Navigate to your sub-user account's API Credentials page.
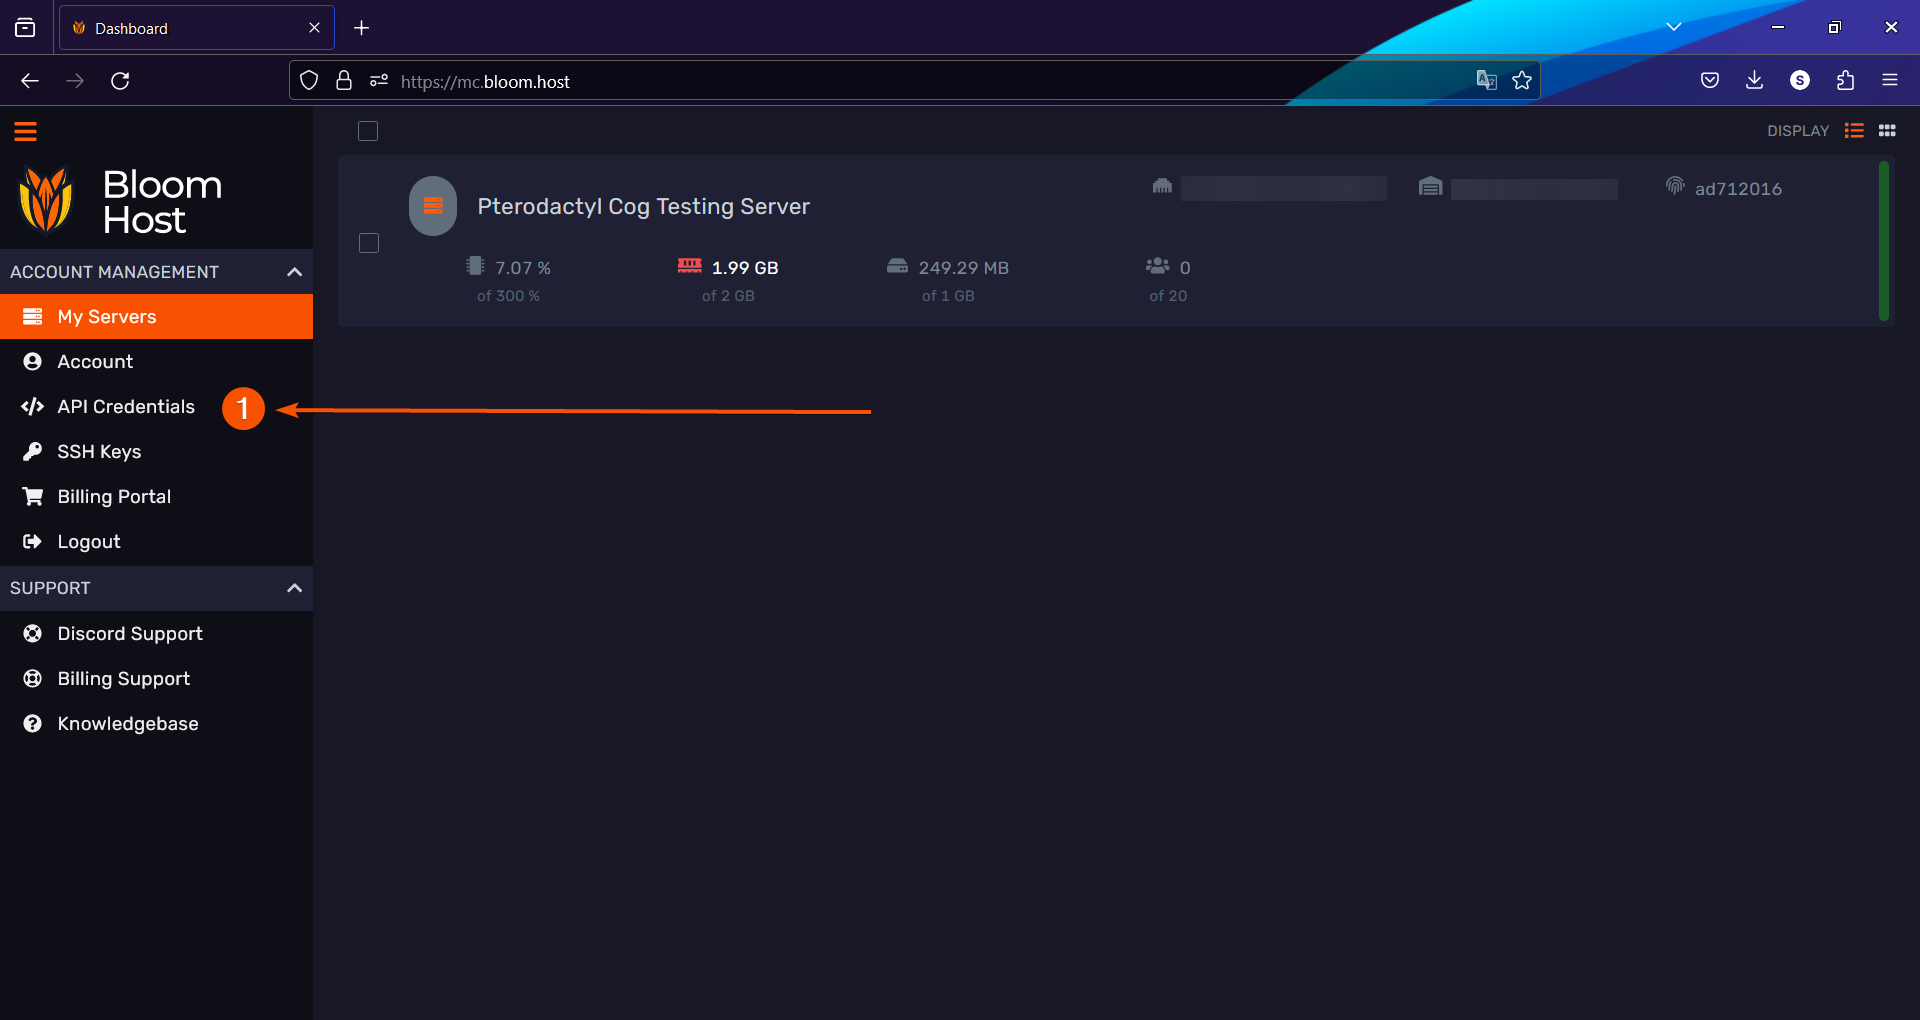
Create a new API key.

You don't have to specify an allowed IP if you don't want to, but I recommend it. If you chose to, you'll need to retrieve your bot's IP address. You can do this through SSH or through a cog like AAA3A's IP cog.
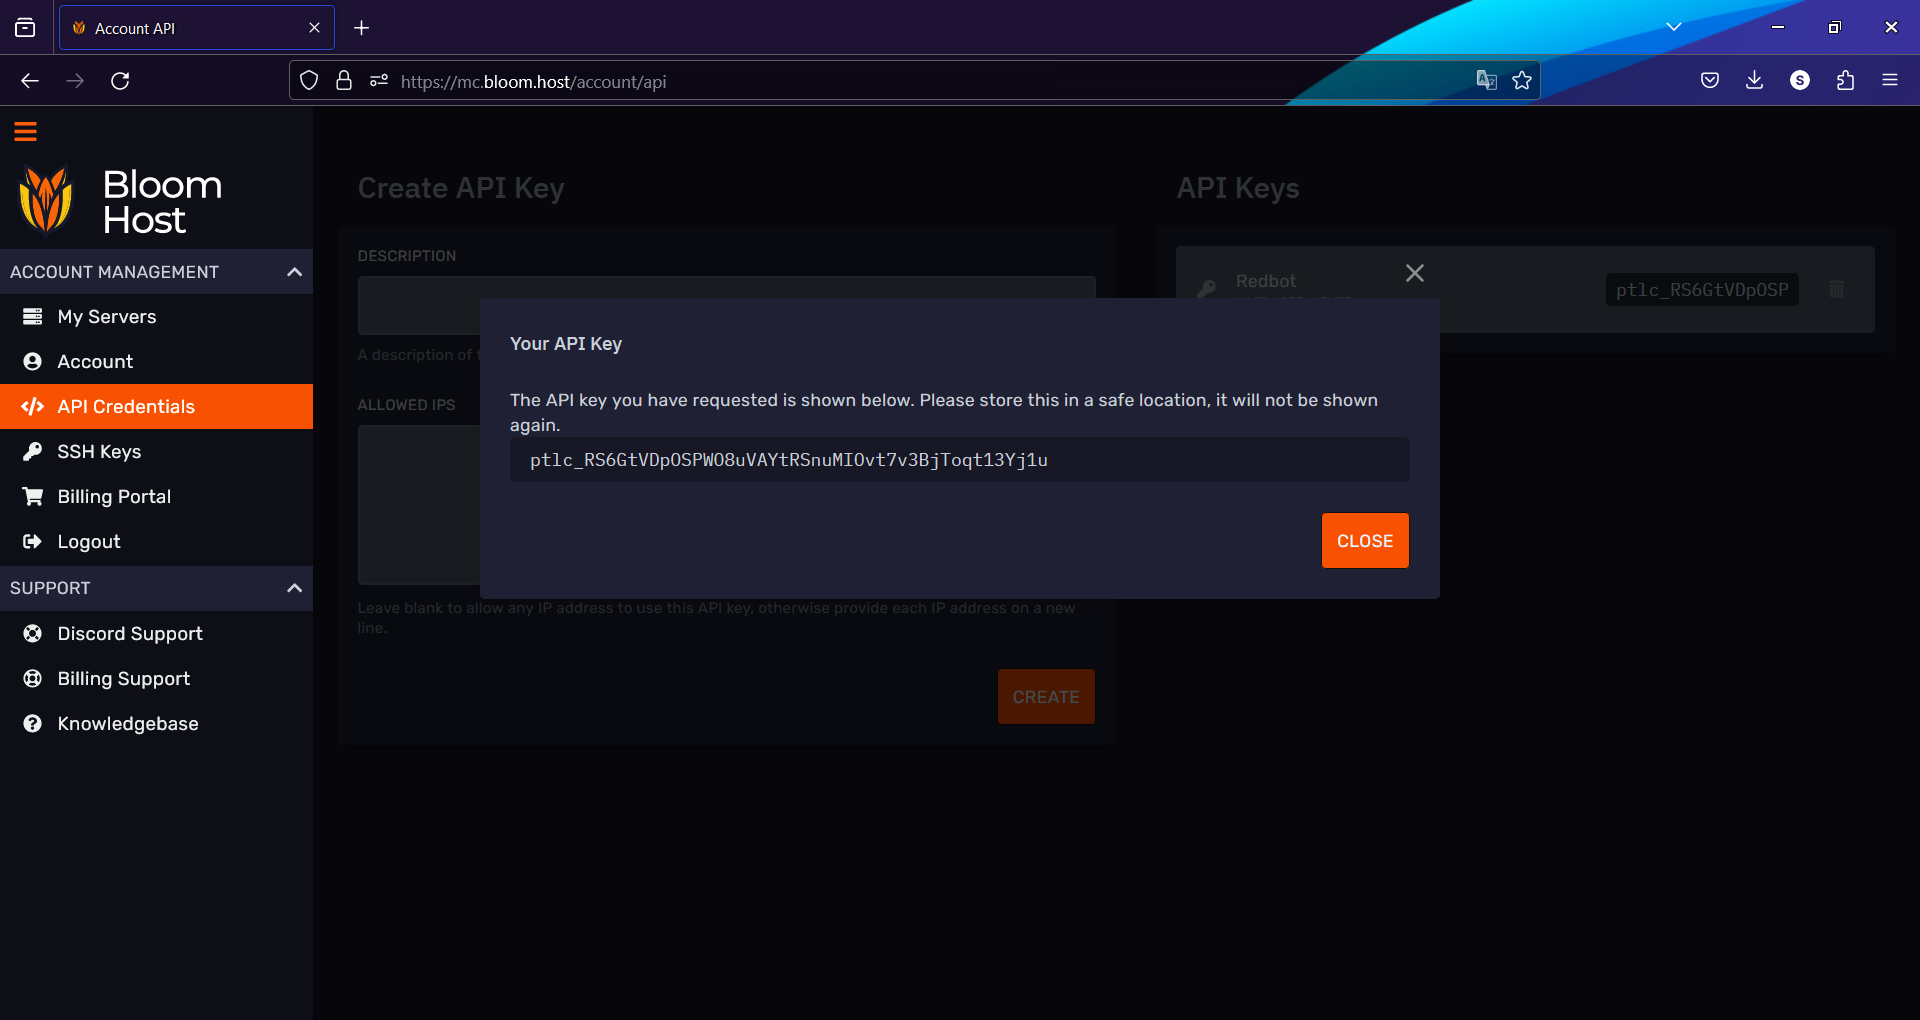
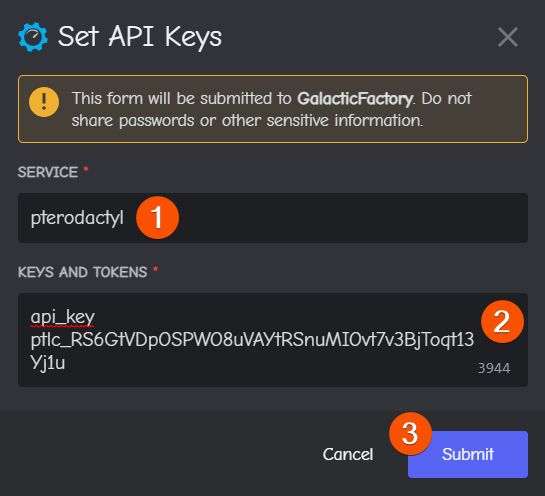
Now, use the [p]set api command on your bot to add the API key.
The format is as follows:
# Service: pterodactyl
# Keys and Tokens: api_key ptlc_...
Getting server information
There's some other information that the Pterodactyl cog needs to function.
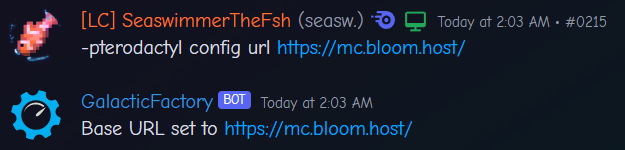
First, get the base url for your panel. This does not include any extra information, like server ids, or whatnot. In my case, I'm using https://mc.bloom.host/.

Use the [p]pterodactyl config url command to set the URL the cog will use.
In my case, I'd use -pterodactyl config url https://mc.bloom.host/.
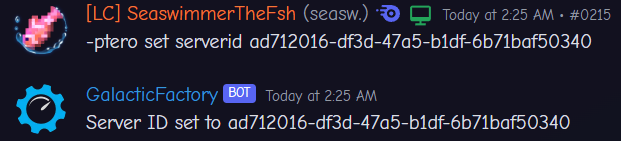
Now, we need to get the id of your server. Navigate to the Settings page in your panel.

Use the [p]pterodactyl config serverid command to add the server id to the bot.
In my case, I'd use -pterodactyl config serverid ad712016-df3d-47a5-b1df-6b71baf50340.
Once you've done all of this, you should see a connection message in the bot's logs. Now, we need to configure some other things.
See the Configuration page for more information.